
A Mini-Guidebook to Cycle Touring in the Yucatán: Cenotes, Beaches, and Tacos
At the end of last year we did an excellent five week cycling trip around the Yucatán. In this blog post I put together some notes and recommendations about the route and practical tips related to traveling around the Yucatán. I hope you will find them to be useful for planning your own trip, by bike (or not).

Table of Contents
Season and weather
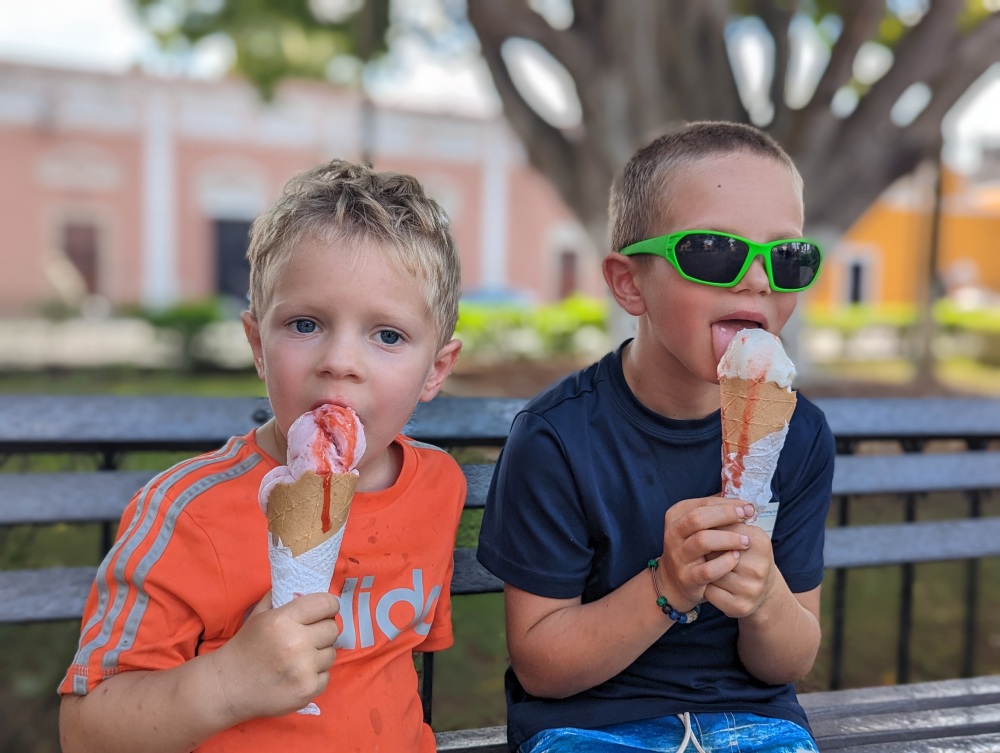
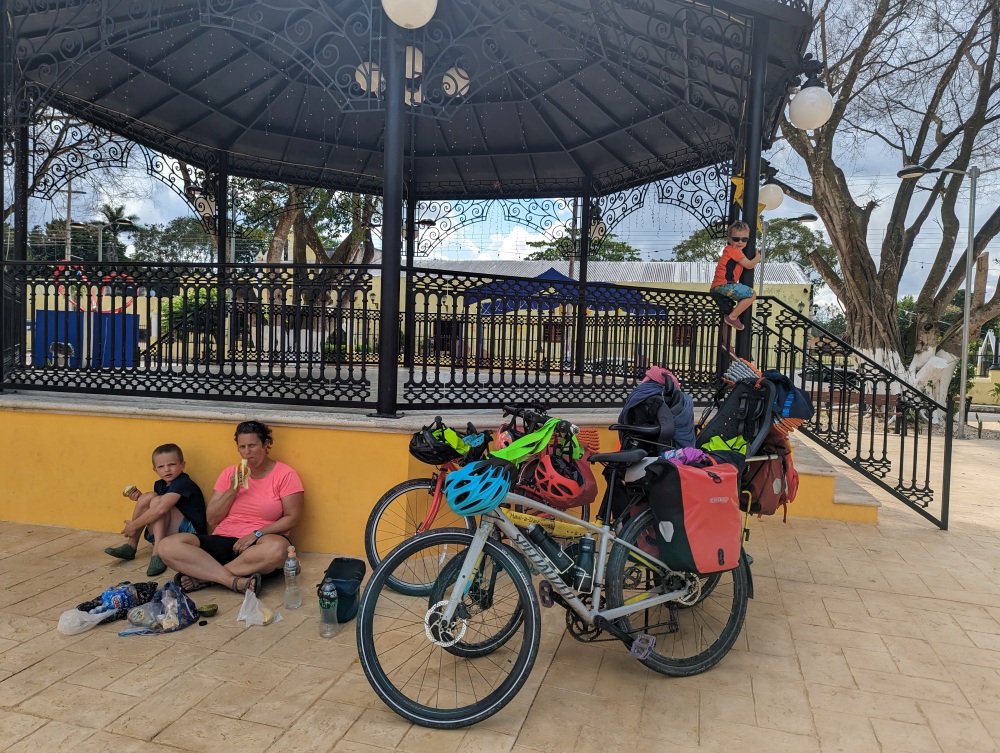
It was definitely hot at times, especially on the road from El Cuyo to San Felipe when we were fully exposed to the sun the whole time. We took plenty of breaks to rest in the shade, drink coconuts that we found on the way, eat ice cream, and drink juice or Gatorade. Essentially every little town or village that we passed through had a main square with a convenient shaded place to rest, with washrooms in the palacio municipal, and a store nearby to get our Gatorade and ice cream. Swimming in cenotes or the ocean, especially at midday was very refreshing. We had very little rain, and when it came it tended to come down hard and for a short time only. If traveling at another time of year, try to avoid hurricane season in the early fall, and be aware that in the spring and summer the stinky sargassum carpets many beaches along the Riviera Maya.
Islands
Isla Mujeres is completely built up and very touristy, but it was a nice day trip to warm up on, when staying in Cancun. We enjoyed the Playa Norte, a beautiful little beach at the north end, and excellent cycling on the east coast, some of it on a separate bike path.

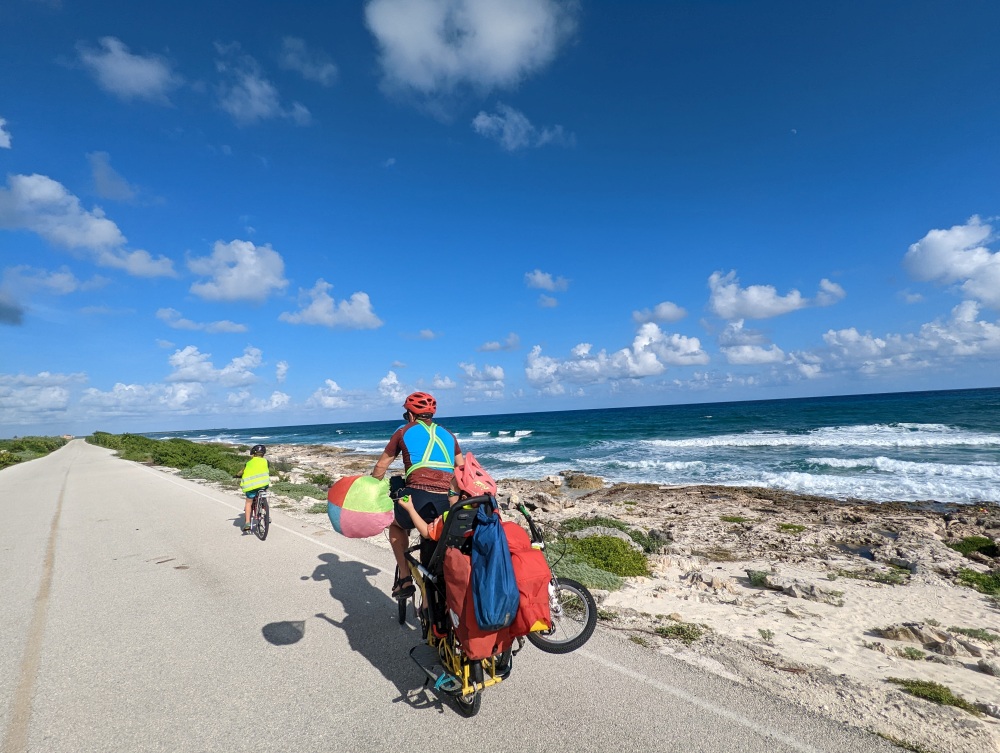
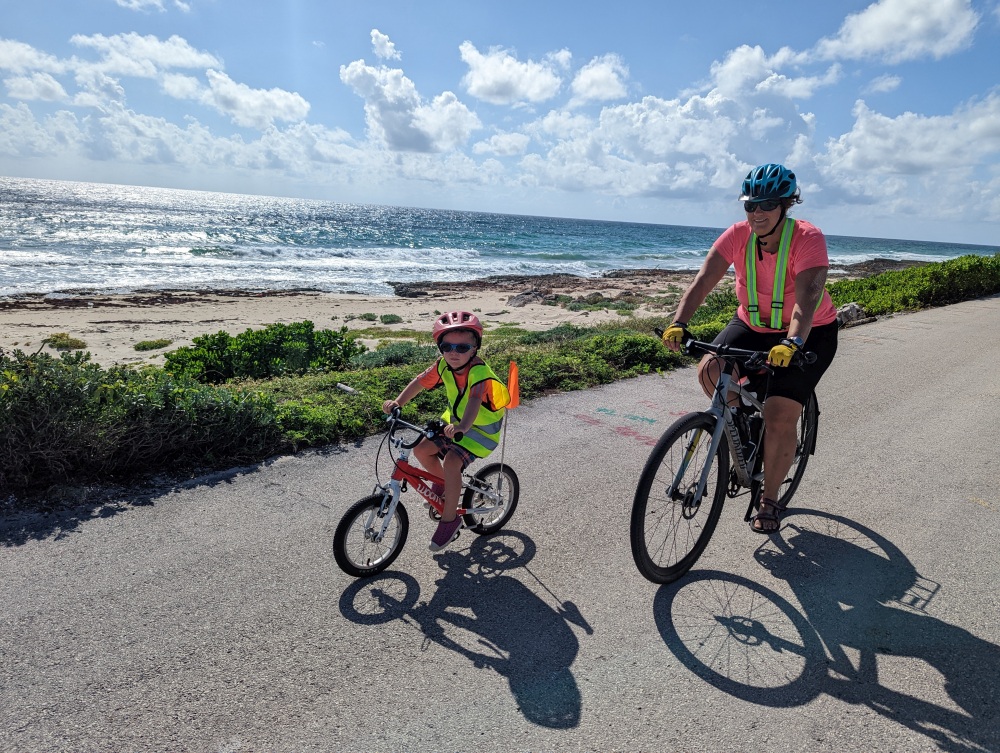
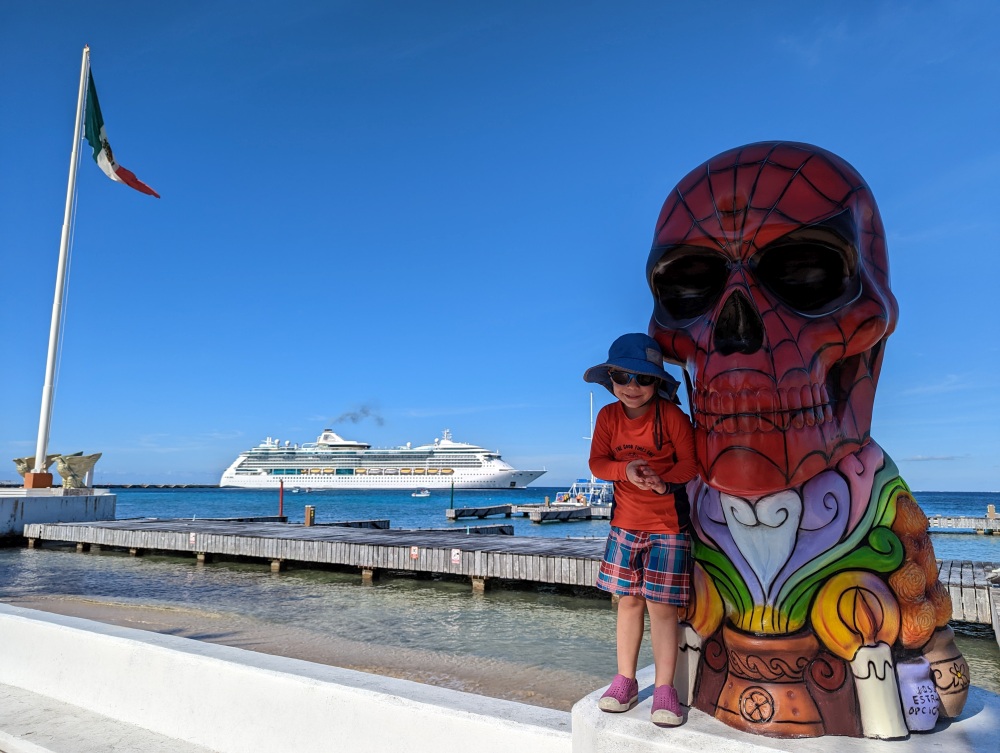
On Cozumel we enjoyed the 65km cycling loop, which is mostly on a separated bike road with some of the most scenic biking on the peninsula. Cozumel is also well known for having excellent snorkeling, accessed either straight from the beach or by boat, with a tour. We spent half a day at Playa Azul enjoying the little beach and excellent snorkeling (note: requires buying overpriced food at the hotel). Don’t miss the Key Lime Pie Factory just opposite!
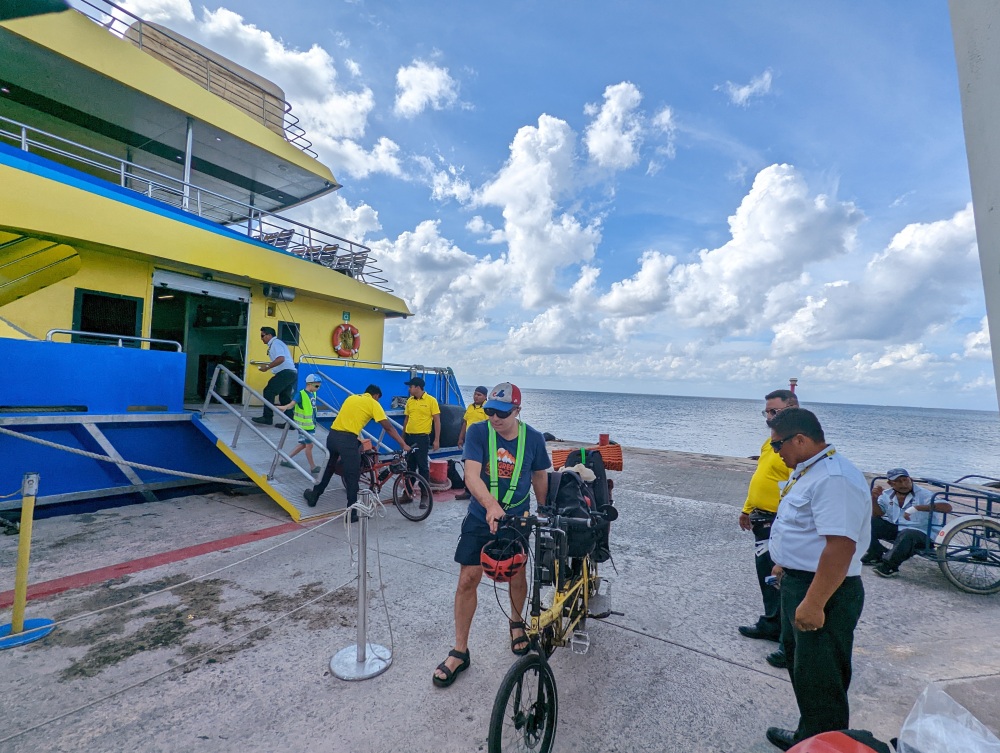
We got to Isla Mujeres and Cozumel on a fast ferry operated by Ultra Mar. Since we knew we’d be visiting both islands, we were able to buy a combined ticket which was a bit cheaper. Both ferries are very convenient for cyclists, since you can just roll on and off and they take bikes (and luggage in general) for free. Note that the ferry to Cozumel can be rocky if the sea is rough – on our trip back multiple barf bags were used all around us (luckily we managed to keep our food down).
On another trip, years ago, we visited another island in the area – Holbox, and have good memories of snorkeling with whale sharks (check the season).
Ruins
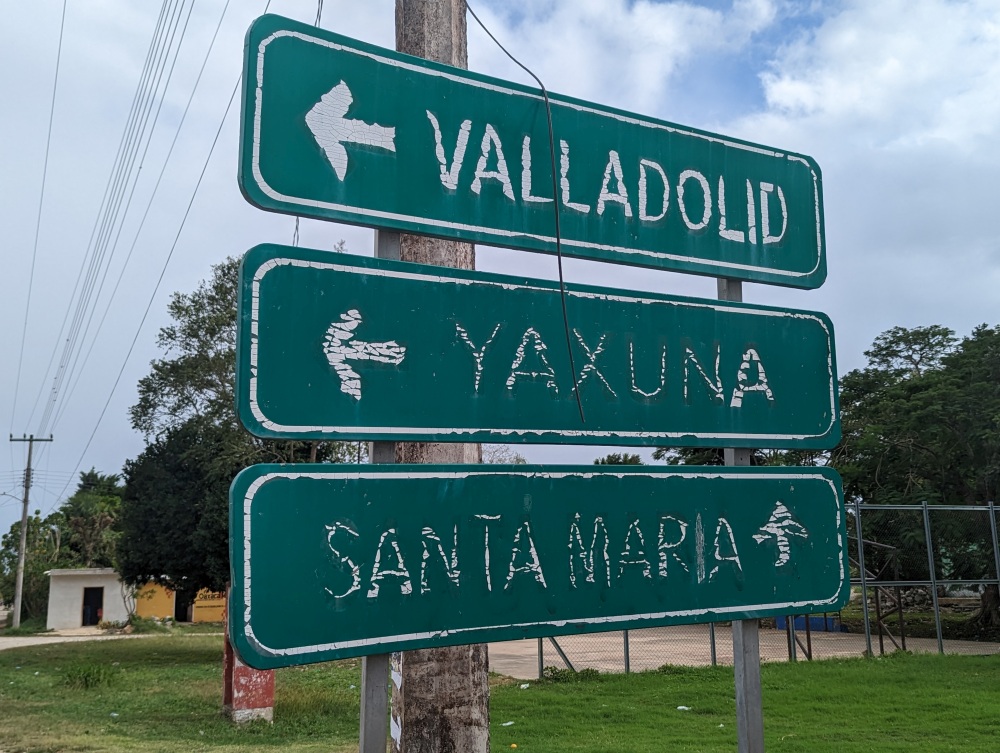
There are many impressive ruins in the Yucatán. We decided that we’d like to visit one or two ruins, but that we would not design our route around this, and that we would likely skip the most crowded ruins. In the end we visited the ruins of Izamal – a small pyramid right in the centre of Izamal. We also visited the ruins of Yaxuná, which are well off the beaten track. These ruins are extensive and are mostly covered in forest. The guard showed us around for a small sum, which was well worth it for the explanations. We chose to avoid Chichén Itzá (nicknamed Chicken Pizza) despite it being on our route, since it sounded crowded, touristy, and overpriced (but it looks impressive in photos).

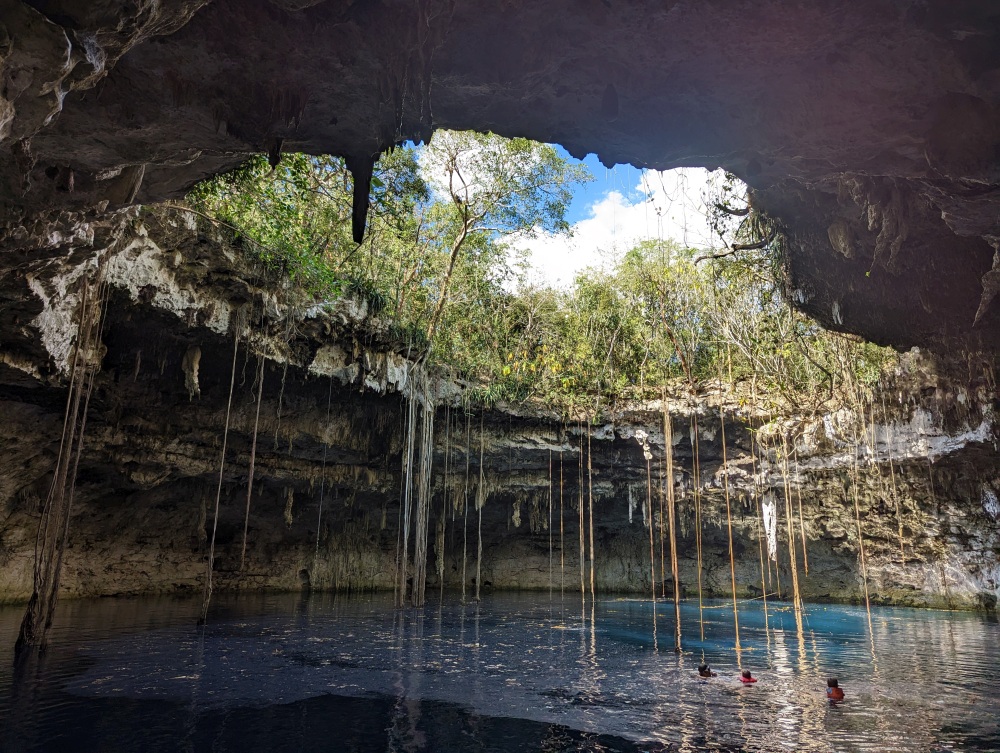
Cenotes
Visiting cenotes was one of the highlights of our trip. Each one is different, and although some are very touristy and developed, many are not. Our kids loved every single cenote, especially the ones that had an additional attraction, like a jumping platform, a rope swing, or a kayak.
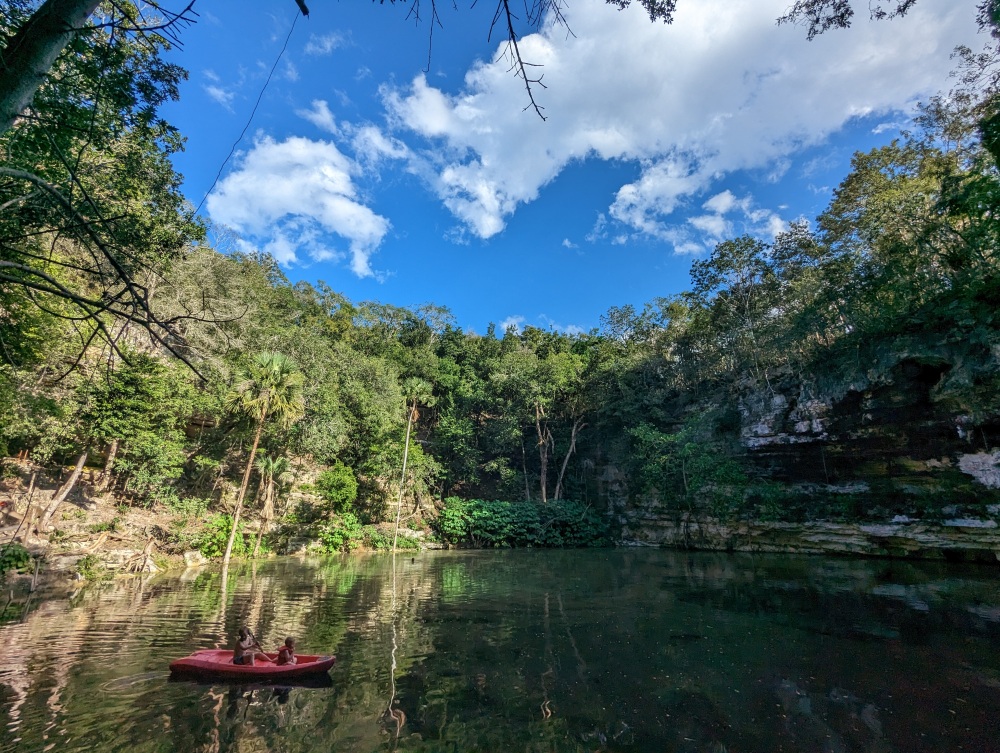
Probably the most memorable cenote was Cenote Xooch, nearby the town of Cenotillo (which means “little cenote”). This cenote doesn’t have regular opening hours, so we had to coordinate our visit via WhatsApp beforehand. Nearby is the public Cenote Ucil (114m deep) where there are annual free diving competitions (we’ll visit next time…).
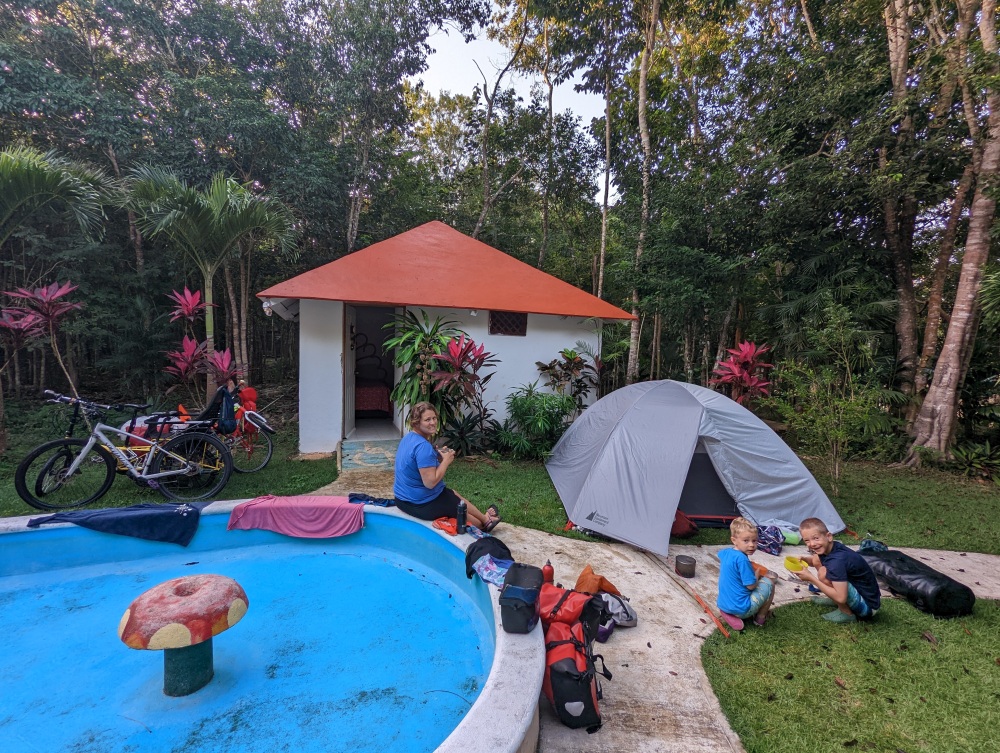
The town of Homún is surrounded by dozens of cenotes and makes an excellent base for resting up and exploring the nearby cenotes. At Yaxuná we visited Cenote Lol-ha, located right opposite our camping spot at the parador turístico. At some cenotes it was possible to camp (for a fee) – we camped at three cenotes: Cinco Cenotes, Cenote Acancun Azul, and at Chan Dzonot, all of them very worthwhile experiences.
We had a couple of days in Valladolid at the end of our trip and wanted to visit a cenote. There is a cenote right in the centre of town, but it was closed. Most cenotes in the area seemed to be overrun by tourists. We settled on Cenote X’ux Ha which seemed a bit more low key. To get there we flagged a taxi, and arranged for that taxi to pick us up as well, which was easy and stress free.

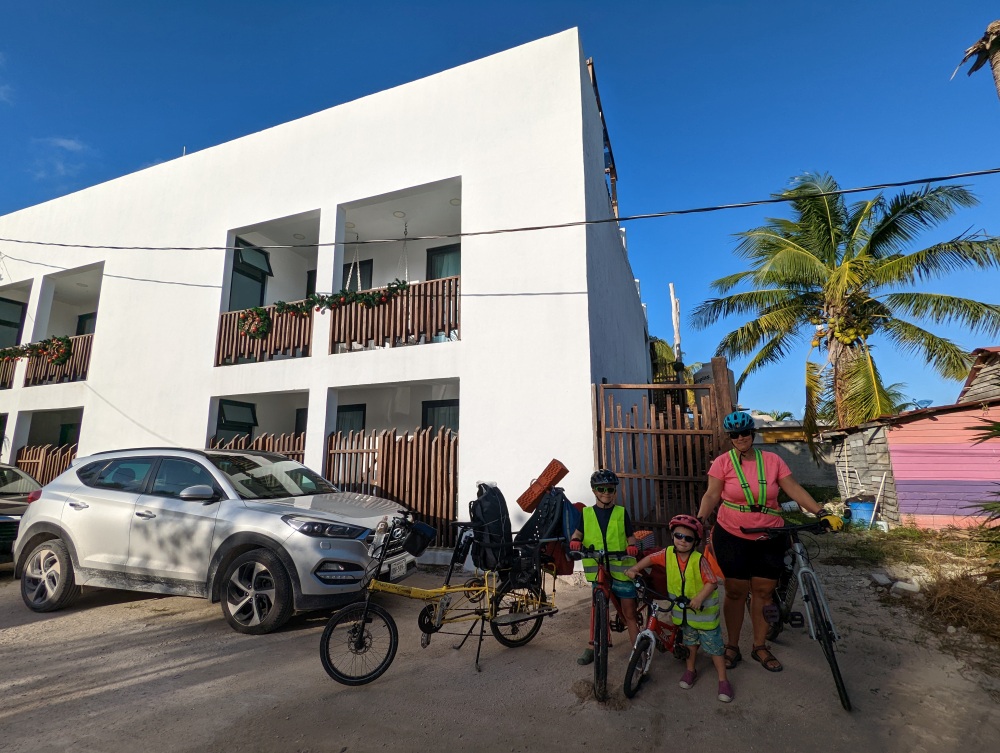
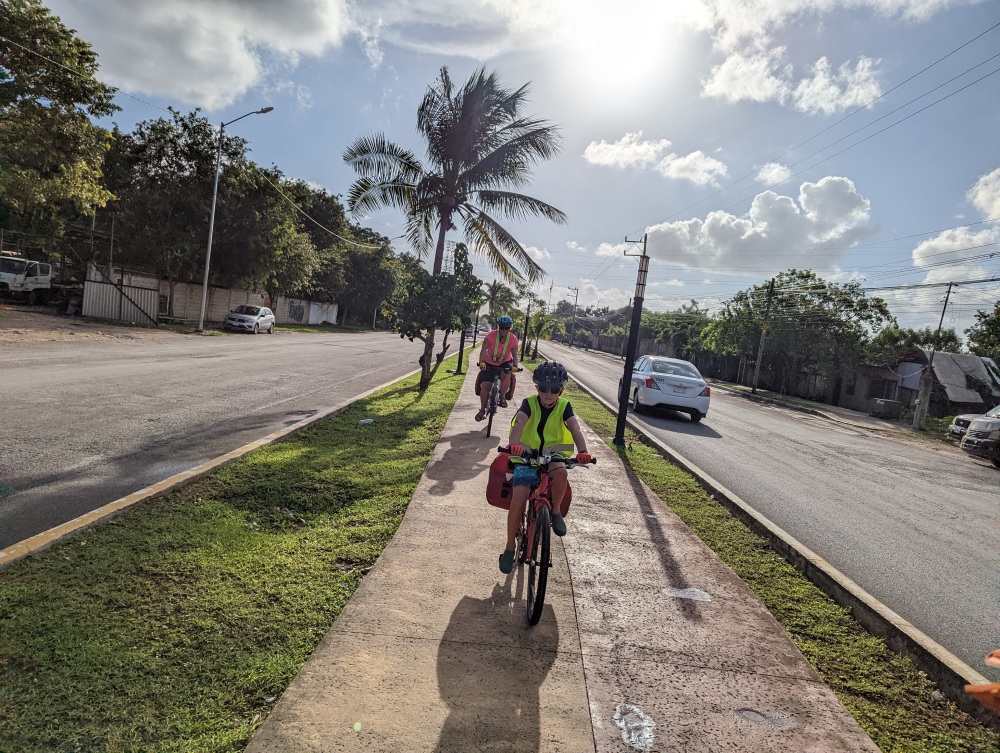
Life jackets were available at most cenotes and were mandatory at some. Kid sizes were usually available. For ourselves we didn’t find it necessary. But we brought a life jacket for Kai (aged 4) which he used at all the cenotes, and we usually borrowed a life jacket for Neil (aged 7).
Accommodation
We mostly slept in hotels that we booked online last-minute (often on the same day). Not booking accomodaton in advance meant that we could be flexible and make decisions day by day. For example, when some of us experienced stomach trouble in Cozumel, we stayed a few extra days, each time adding an extra night to our booking. It also eliminated stress on whether we would make it to a particular destination at a particular time.
We booked most of our lodging via Booking.com (or occasionally AirBnB), and found this to be convenient. On several occasions we were surprised to find that it was cheaper to book via Booking.com than to go directly to the hotel. At one hotel we talked to the owners and they told us that they would have given us a discount, so it might depend on whether you are talking to an employee or the owner (sometimes you can contact the hotel directly via FB or WhatsApp, which is very popular in Mexico).
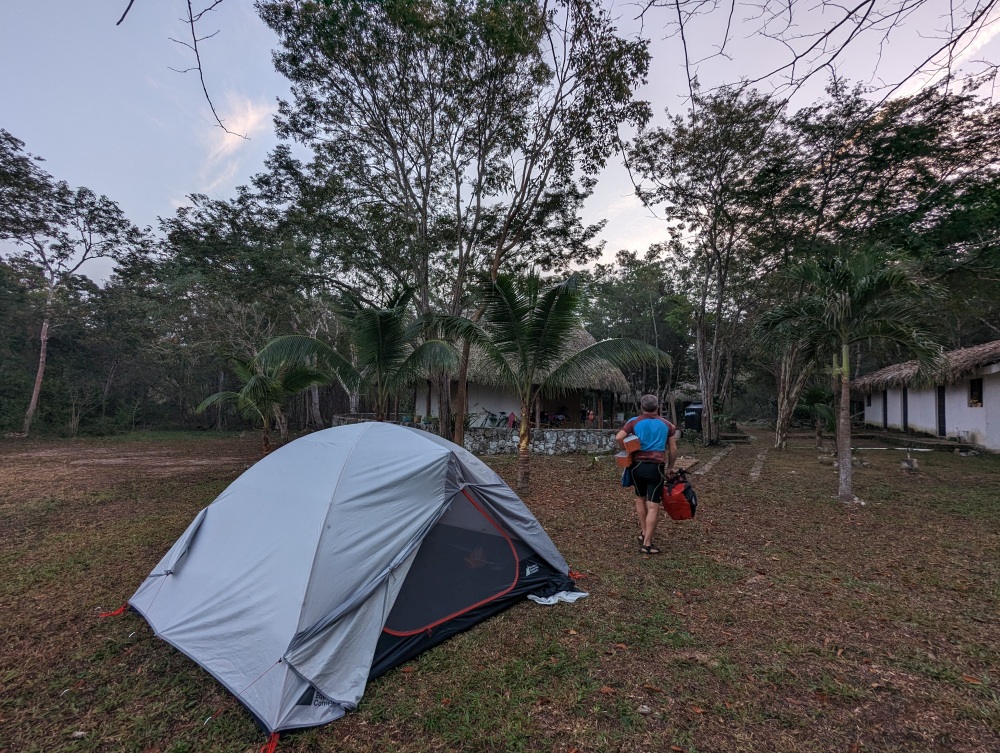
We also carried camping gear, and used it for around eight nights. It was possible to avoid camping, but we liked to have the flexibility of being self-sufficient, and it allowed us to have the special experience of camping right by cenotes three times. We didn’t camp more since we didn’t feel comfortable (safety-wise) to camp wild, and it was often convenient to sleep in small towns. It was also quite hot so it was nice to have a fan or AC so we could sleep more comfortably.
We were in touch with some other cyclists who camped for free consistently: a couple who camped exclusively in people’s yards, and a family who camped most of the time under the large but simple shelters available in essentially every town by the Palacio Munipical / Comisaria, or on soccer fields (canchas). On longer trips we normally try to stay with Warm Showers hosts a few times. We contacted several hosts, but weren’t able to stay at any of them. They did provide us however with some good information – tips and roads to avoid. We camped at parador turísticos twice – at Yaxuná (excellent local meals available, ruins and a cenote), and Chan Dzonot, and wondered if there were others. It was sometimes more convenient or comfortable to camp despite being at a hotel, such as at Ixchel Hotel Ecoturistico and Hotel Green River in Izamal.
Costs
Besides the flights, accommodation and food were the main costs. The hotels we stayed at usually cost 800-1000 MXN per night (for a family of four in one room), with the most expensive being 1300 MXN, and the cheapest something like 400 MXN. Camping at cenotes was something like 200-300 MXN (except for Cinco Cenotes which was double). Meals ranged from 40-80 MXN per person for street food to 100-200 MXN for restaurant food.
Water and toilets
We avoided drinking tapped water, like most Mexicans. Most of the time we stayed at hotels which had a garrafón (a 20L plastic water container) where we could fill up filtered water freely. Sometimes this wasn’t available and we ended up filtering our own water using our Sawyer Mini Water Filter which is small, light, and effective. We avoided buying bottled water, since we don’t like being responsible for all that wasted plastic. On one occasion, in Cenotillo, we borrowed an empty garrafón from the owner and swapped it for a full one at a corner store for a small fee. We noticed that there are refill stations where one can refill a garrafón even more cheaply. At the Cancun airport, be prepared to shell out 3-4USD for a bottle of water. It was usually convenient to have a snack or lunch break at the main square of a town we were passing through. Toilets were easy to find at the palacio municipal, right on the plaza (usually free, but not always). Toilet paper had to be thrown out into a basket by the toilet, rather than flushing it.
Gear: what we brought, and what failed
We carried full camping gear (tent, sleeping bags, mats, stove, etc.) although we could have managed without. We debated for a while whether to bring sleeping bags. Ours are rather warm and we knew it wouldn’t be too cold. Our plan was to just bring a couple of blankets and sheets, but we chickened out last minute and decided to bring our sleeping bags after all. In the end there were a few nights that were on the chilly side, so we were happy to have them.
We brought five breakfasts and three dinners with us – more than needed. When we were camping we usually cooked. The rest of the time we ate out or bought ingredients at supermarkets. When possible, we had yoghurt and granola for breakfast. Note that unsweetened yoghurt and good chocolate are very difficult to find in small towns.
We didn’t bring rain gear It didn’t rain often, and it was usually short lived (but heavy), and at night or when we had a convenient shelter nearby. Once we got drenched while riding with no shelter nearby, but we dried out pretty quick in the sun soon after.
Only a few days into our trip, we discovered that Maya’s rear tire was torn. We were in a very rural area, but still passed a store that stocked some bike tires soon after – but alas, her tires are 700c – not a popular size. Luckily, the owners of the hotel we stayed at in El Cuyo were able to help us get one from Playa del Carmen. Definitely make sure your tires are in good shape. One of our mats is an Exped SynMat HL Duo, which blew a chamber causing it to have a large bump near the center. It was still usable, although not nearly as comfortable.
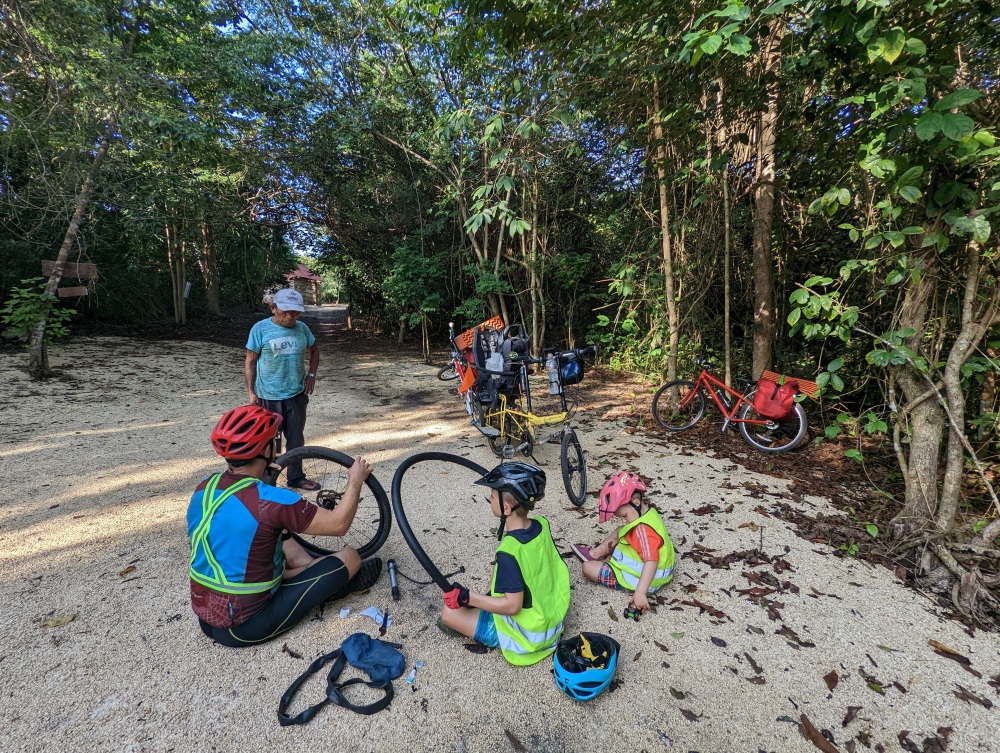
One of our bike computers broke on the flight to Cancun since I forgot to remove it from the handlebars. Both our mirrors broke on this trip – we haven’t yet found a mirror that will last. I had a couple of flat tires. One of them was caused by a weird crease in my rim tape – once straightened out it didn’t happen again. The kickstand on our cargo bike, a Bike Friday Haul a Day, broke on Cozumel. I was able to find someone who could weld it for us (for the whopping sum of $5…). Finally, my credit card was swallowed by an ATM unattached to a bank and we could not retrieve it. Luckily we had several others with us, and I was able to cancel it on the spot.
Cellphone plans
We bought a Telcel SIM and plan at a convenience store (OXXO), and this was easy and cheap. Supposedly one can even continue to use Telcel SIMs in the US and Canada to get cheap data (by roaming), but we have not tried this.
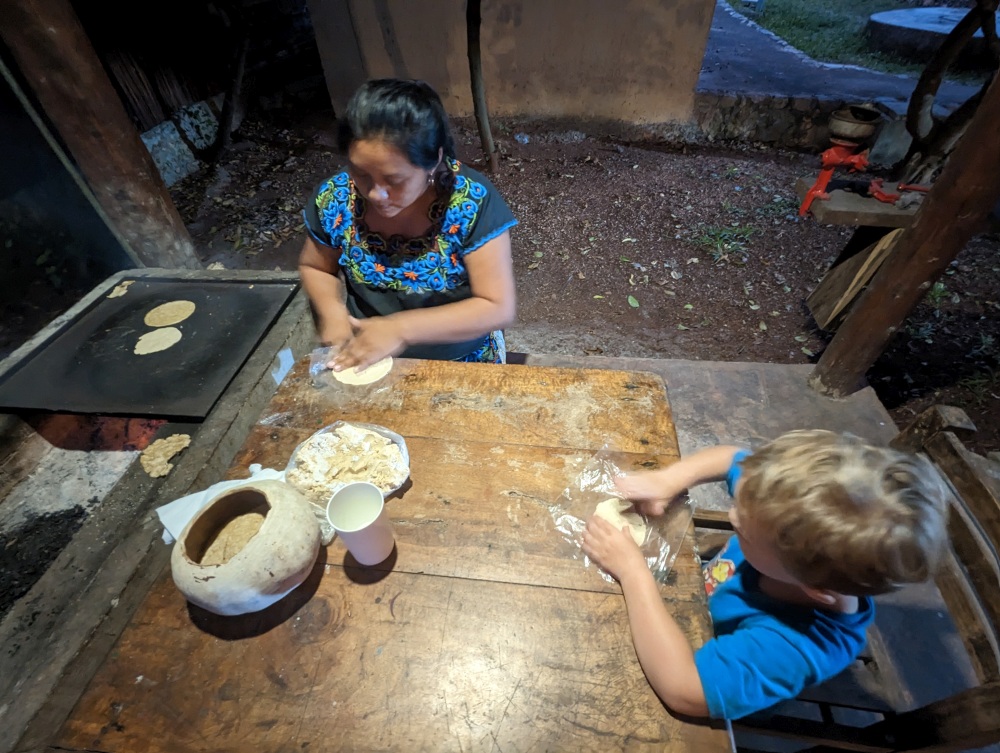
Food
The food in Mexico was definitely one of the highlights. When possible, we searched for and ate at local institutions, such as El Cejas and El Pocito in Cancun. We also looked out for regional specialties, such as poc chuc (a thin pork steak), longaniza (pork sausage), papadzules (corn tortillas filled with hard-boiled eggs in a sauce), and cochinita pibil (pork slow-cooked in banana leaves, often underground).
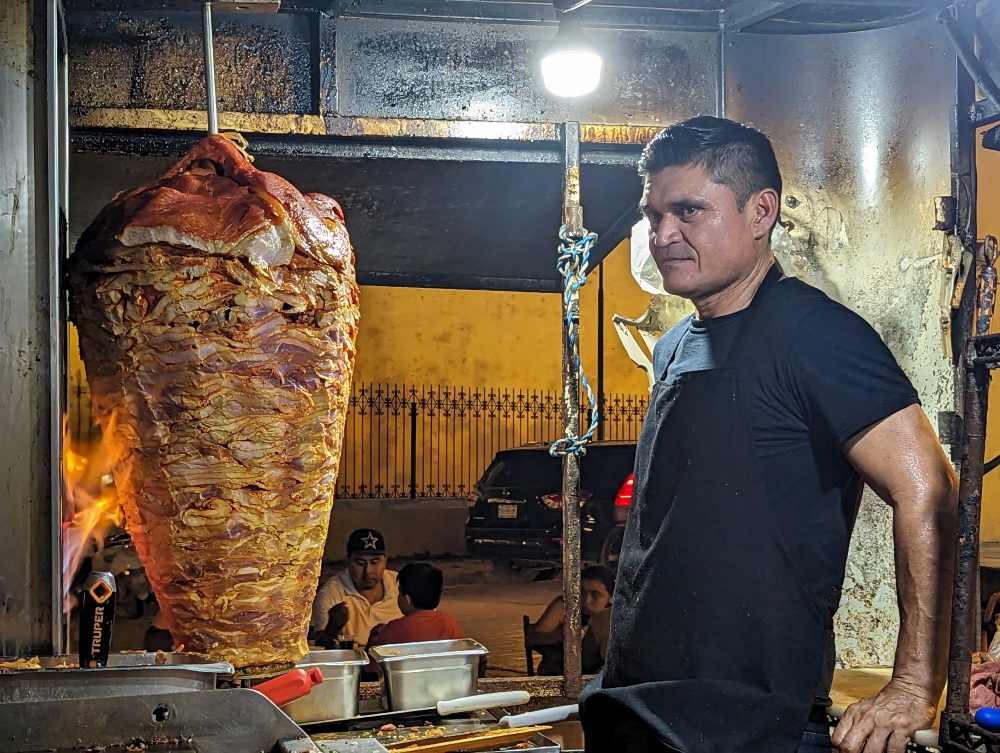
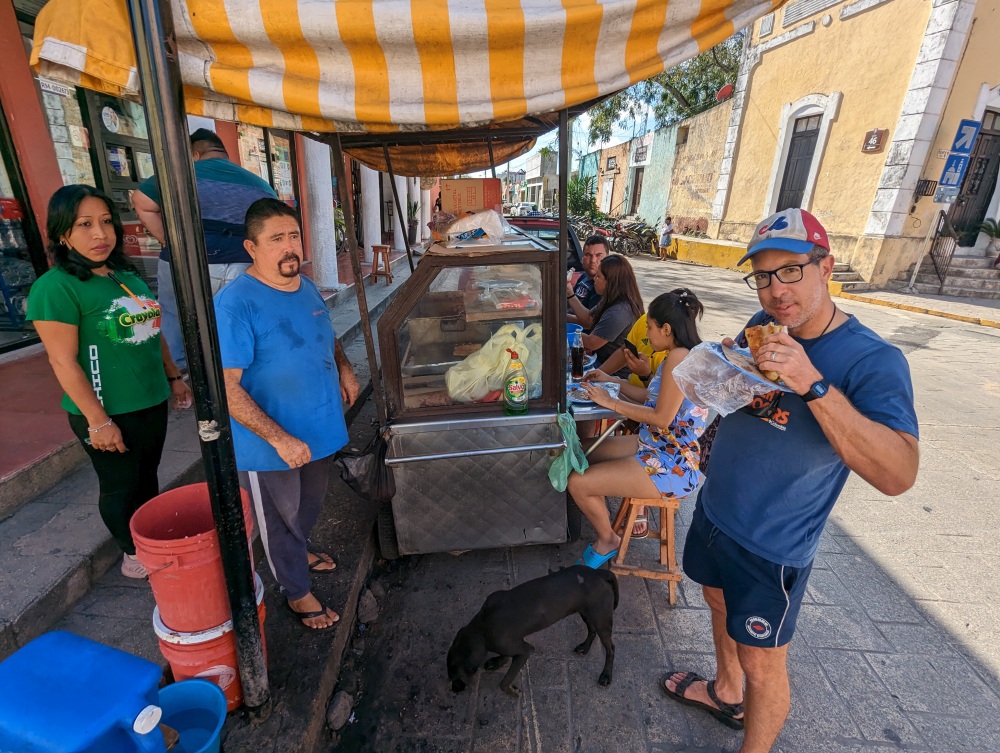
Eating on the street or markets was tasty, fast, but very greasy – look out for tacos al pastor (pork shawarma/gyro), and salbutes and panuchos (types of deep fried tortilla with toppings). Whenever possible, we had seafood, either tacos, ceviche, or a fillet or whole fish with a variety of marinades, one of our favourites being mojo al ajo (garlic and butter), and if you like spicy food, try a la diabla (of the deviless).
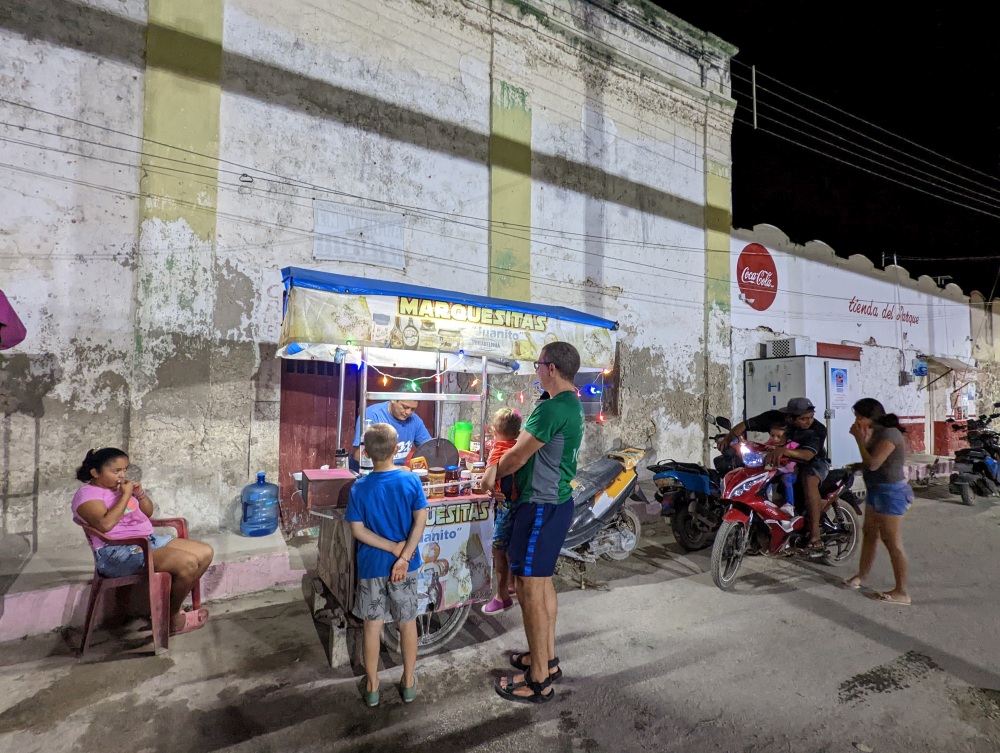
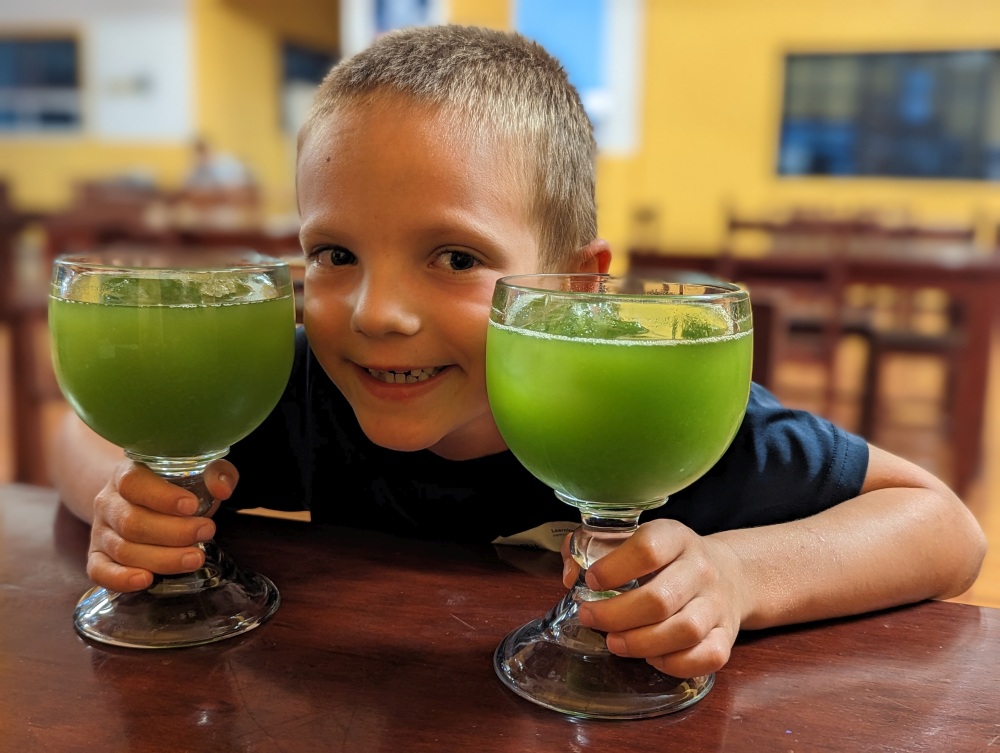
Valladolid is well known for its food and might be considered the culinary capital of the Yucatán. We particularly enjoyed having cochinita pibil tortas or tacos on the street (breakfast or an early lunch), and the gelato at Wabi Gelato. We also drank fresh juice whenever possible – ideally freshly made, such orange juice, grapefruit juice, or jugo verde (a green juice made of pineapple, spinach, cucumber, and cactus leaves – nopales). At home we don’t often drink sweetened drinks, but with the hot riding, we often ordered a jarra (jug) of juice to have with our meals. For dessert, we often had ice cream or paletas (Mexican popsicles, often fruit-based) from a corner store, ices from a street merchant, or in the evening marquesitas (a crunchy crepe) at the main square.
Our kids were unfortunately not big fans of Mexican food. It doesn’t help that they barely ate any meat. When available, Kai usually ate french fries. Neil had a big appetite, especially after longer riding days. He enjoyed fish tacos, and sometimes shared other fish dishes with us. Pizza was available almost anywhere, and despite being mediocre by our standards, was often the kids’ first choice. We sometimes bought them a pizza and had some street food for ourselves. Pancakes are popular, going under the name hot cakes (spoken with a Mexican accent). Made from a mix they are nothing to write home about, but when we found them the kids were very happy.
Our route
Our choice of route was done on the fly and was guided by several factors which I cover below. The cycling was almost completely flat, so (unlike on most trips) we didn’t need to take into account the elevation profile when planning our days.
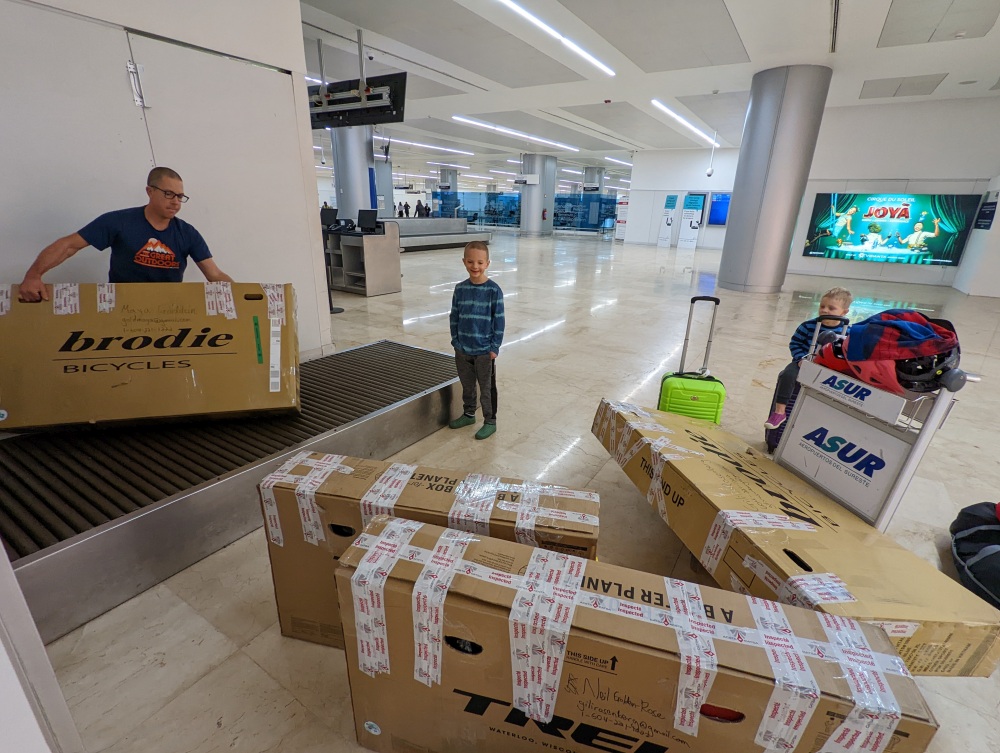
1. Our starting and ending point were dictated by Cancun being the most convenient and cheapest airport in the area to fly into. Flying into and out of the same location allowed us to reuse our bike boxes by leaving them at our AirBnB – this way we didn’t have to look for new bike boxes at the end.
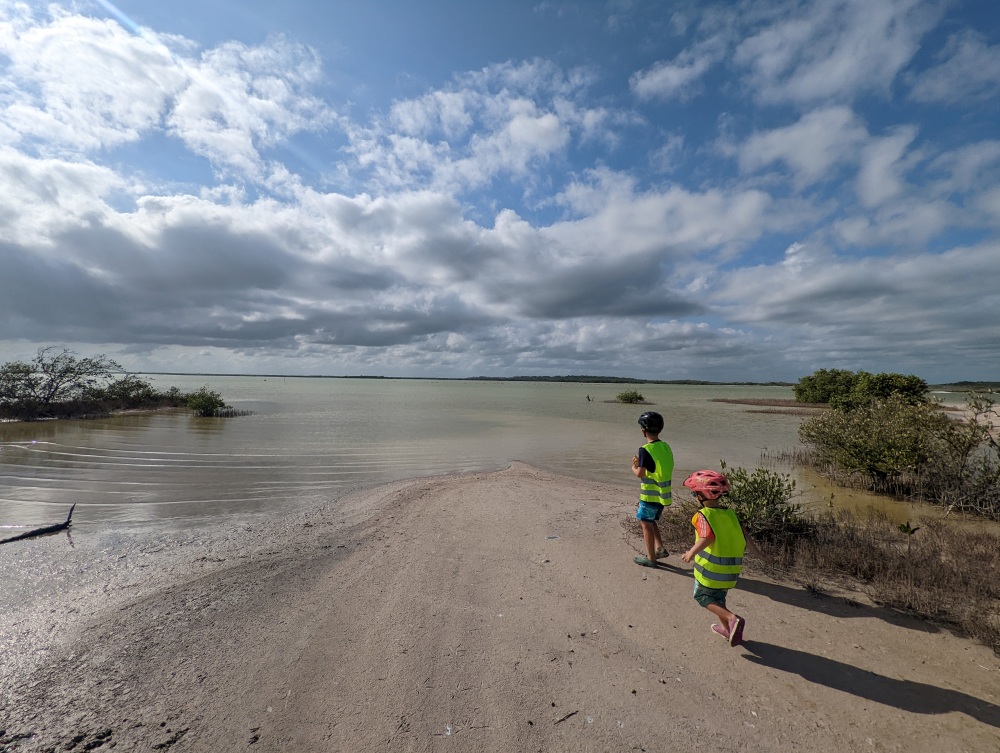
2. We had heard that much of the cycling in the Yucatán can be monotonous (which is true). Generally, we prioritize routes with a variety of experiences and scenery, since that keeps the interest level up – both for us and the kids. In this case, we chose to start with a coastal section (Isla Mujeres and Cozumel), then an inland section (Playa del Carmen to El Cuyo), followed by a coastal section (El Cuyo to San Felipe), and finishing with an inland section (Rio Lagartos to Homún and on to Valladolid), and a final beach day in Cancun.
3. There were some specific roads that we wanted to try and incorporate into our trip since they seemed particularly scenic and worthwhile. We had heard that the 65km cycling loop around Cozumel involves some of the most scenic cycling in the area. Cozumel is also a famous snorkeling and diving location. The road between El Cuyo and San Felipe also seemed like a good bet. Although it is unpaved and can be sandy, it involves riding alongside flamingos for much of the way, which was sure to be a special experience.
4. When cycling along water, we like to keep it close to us – in this case that meant on our right. This helped us decide in which order to do things, for example riding from El Cuyo to San Felipe, and not the opposite. We also chose to ride around Cozumel anti-clockwise for this reason, despite hearing that clockwise might be recommended due to the prevailing winds on the more exposed east coast. The wind forecast on the day of our ride called for weak winds, and it was a bit windy, but definitely not too bad.
5. The Riviera Maya, stretching from Cancun to Tulum is very touristy, so we resolved to minimize our time there, especially during high season. We still spent a few days in Cancun, since it was the most convenient airport for us to fly into and out of, spent a day on Isla Mujeres, and five days on Cozumel (since it’s awesome).
6. We prefer quiet roads both for our enjoyment and safety and prefer to avoid passing through any large cities. This ruled out a visit to Merida, cycling on the Cancun-Tulum road, the Tulum-Coba road, or cycling west out of Cancun on highway #180, or returning to Cancun on this road. For this reason we chose to travel from Cancun to Playa del Carmen (en route to Cozumel) by bus, and then later from Valladolid to Cancun at the end of our trip (see the “Entering and leaving Cancun” section for more details).
7. We realized that visiting cenotes would likely be a highlight, so we wanted to visit the area known as “Ring of Cenotes”. Although we didn’t end up staying with any Warm Showers hosts on this trip (unlike most of our trips), we did get some great tips. One of them was about Homún, a town that is surrounded by dozens of cenotes, right in the middle of the Ring of Cenotes.
Didn’t make the cut – other route options
We also considered some other sections that look promising but didn’t work with our timing and other constraints:
- One can reportedly bike from Tulum south to the small fishing village of Punta Allen along a narrow spit of land, then catch a boat across the bay, and finally ride remote gravel roads back out towards highway #307. However, we had heard and seen photos of that road and it seemed to be in rough condition, plus this would have required us to get to Tulum via another bus or bike the busy road, and would have taken us too far south.
- There is also another coastal section, from Dzilam de Bravo to Chuburná, which looks like it might be very nice – but it would have taken us too far west.
- We had heard good things from cyclists about the Ruta Puuc, which connects various ruins with quiet roads, but we weren’t able to include it in our trip.
Entering and leaving Cancun
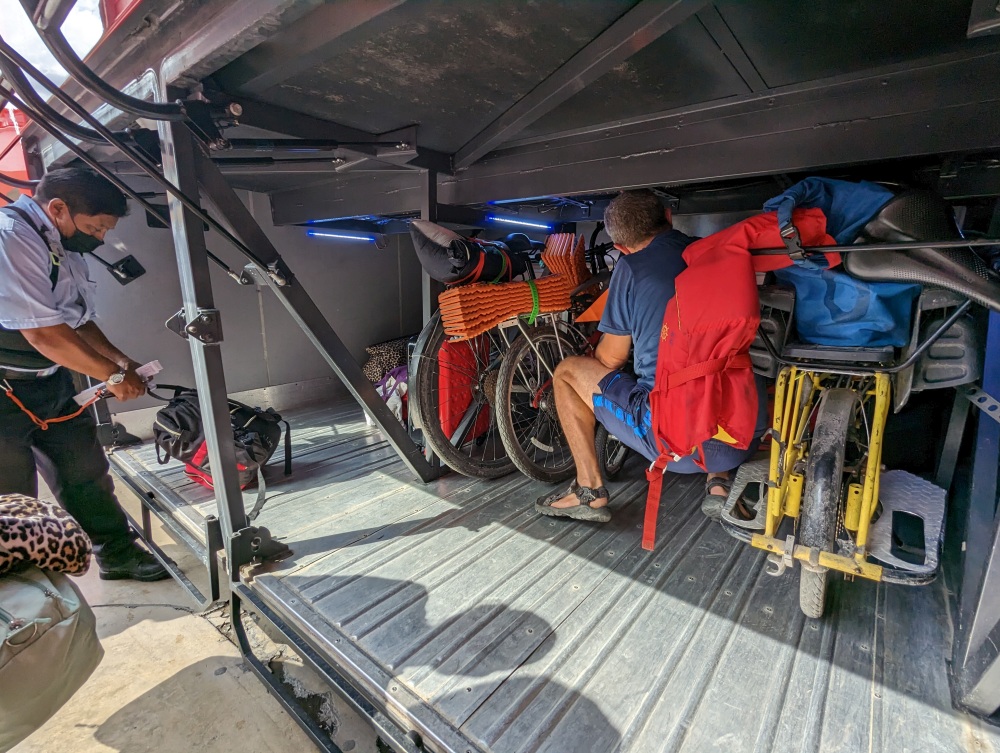
We had initially booked flights into and out of Cancun, without figuring out our route. Closer to our trip, I did some research and realized that leaving Cancun in any direction on our bikes would involve riding on large roads, something that we wanted to avoid. On a previous trip to Mexico we had taken our bikes on a bus without issues, and other travelers told us that this is still the case with the ADO buses, which have very large holds underneath. The holds are high enough to allow a regular adult bike to just be rolled in and travel upright. In our case, we had the cargo bike, and a total of four bikes and gear, so we did worry a bit about whether we’d be allowed to carry so much with us, but it wasn’t a problem.
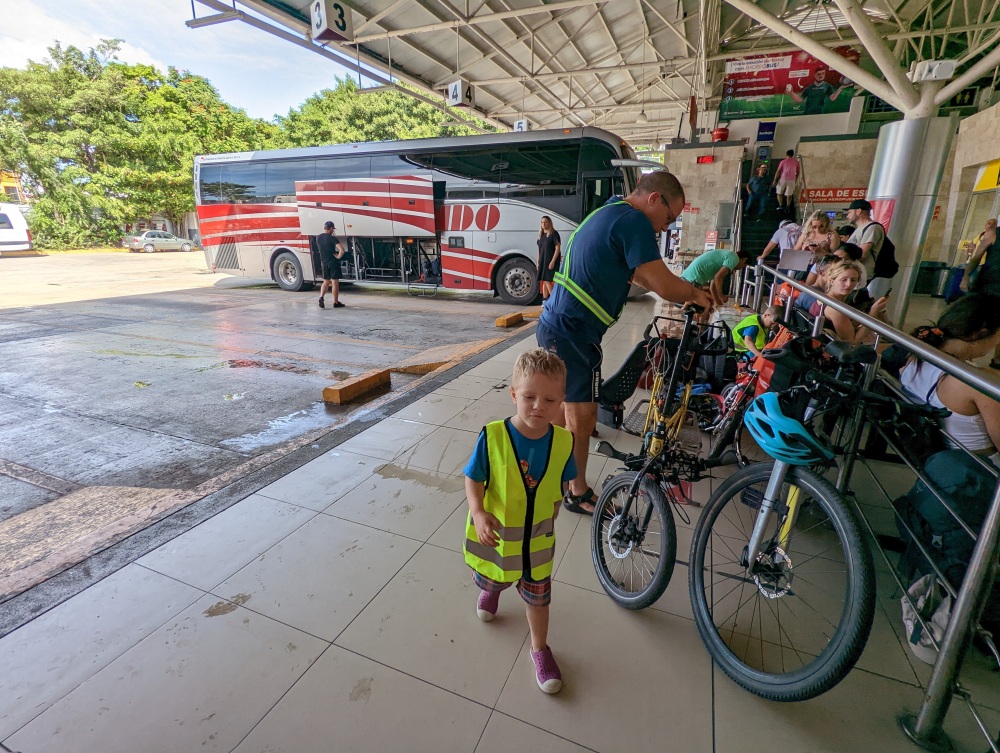
The first bus we caught was from Cancun to Playa del Carmen. We arrived just before the bus left, which wasn’t ideal. We bought our tickets on the spot, nabbing the last seats right at the end of the bus, next to the toilet. Getting the bikes onto the bus was a bit rushed. The cargo bike was a bit too high to fit in the hold as is, so I had to take the child seat off, and to detach the handlebars (or lower them, but detaching was easier and faster). Although bikes and baggage in general technically travel for free, it’s quite common for the baggage handler to ask for a tip. In this case, the baggage handler played hardball, telling us that we’d have to pay him 600 pesos for the nuisance of taking the bikes on the bus, or he’d kick us off. After a few rounds of haggling, we left him with a 200 pesos tip, and that was it.
The only other bus we caught on this trip was from Valladolid back to Cancun, at the end of our trip. This time we were more prepared: we bought our tickets ahead of time, and arrived at the terminal early. Unlike the first time, the baggage attendant didn’t ask for a tip or bother us in any way, so the bikes and gear traveled for free. Anecdotally, we did notice that Cancun is far more touristy, and suffers from more tourist traps than Valladolid, so this experience was in line with that.
Research and the resulting map
As usual for us, our planning consisted mostly of collecting information from various sources which I added to a single Google Map with separate layers (see below). There is a lot of info on this map, but note that you can hide layers you are not interested in.
I got a lot of information from iOverlander – one can download all the waypoints for each country. For Mexico, I had to filter down the huge waypoint file they provided to just the Yucatán, and just the type of waypoints we were interested in. To map our actual route I used RideWithGPS, exported to GPX, and then imported it into the Google Map. For navigation, I exported the Google Map to a GPX, which I then loaded into Maps.Me. We mostly used Maps Me which is handy since it allows offline navigation while still accessing all the information on the map. Sometimes we used Google Maps if we had reception and were looking for a particular type of business, such as a restaurant.
2 Comments
Colleen MacDonald
OMG
This is absolutely amazing!!!
I think we are going to try to do it!
Can’t thank you enough for this post
Colleen
Gili
Thanks, Colleen! Exciting, and I’m sure you’ll have a wonderful time. Happy to answer any questions you might have!